
Discover the exciting world of LED circuits with beginner-friendly projects that bring light, creativity, and practical electronics knowledge into your hands safely and affordably.
✨ Why LED Circuit Projects Are Perfect for Electronics Beginners
Learning electronics doesn’t have to be intimidating or expensive. LED circuit projects offer the perfect entry point for newcomers to the world of electronics. These projects combine visual feedback with simple components, making them ideal for understanding fundamental concepts like voltage, current, and resistance. Unlike more complex electronic devices, LED circuits provide immediate gratification—when you connect everything correctly, you see results instantly in the form of glowing lights.
LEDs, or Light Emitting Diodes, are semiconductor devices that convert electrical energy directly into light. They’re incredibly efficient, consuming minimal power while producing bright illumination. This efficiency means they generate little heat, making them much safer than traditional incandescent bulbs for hands-on learning. For beginners, this safety factor is crucial, as it reduces the risk of burns or fire hazards during experimentation.
The affordability of LED components makes them accessible to virtually everyone. A basic LED costs just a few cents, and the supporting components—resistors, batteries, and breadboards—are equally inexpensive. This low barrier to entry means you can start your electronics journey without significant financial investment, making mistakes and learning from them without worrying about costly consequences.
🔧 Essential Components and Tools You’ll Need
Before diving into your first LED circuit project, gathering the right components and tools will set you up for success. The good news is that the starter kit for LED projects is remarkably simple and won’t break the bank. Understanding what each component does will help you make informed decisions as you progress through different projects.
Basic Electronic Components
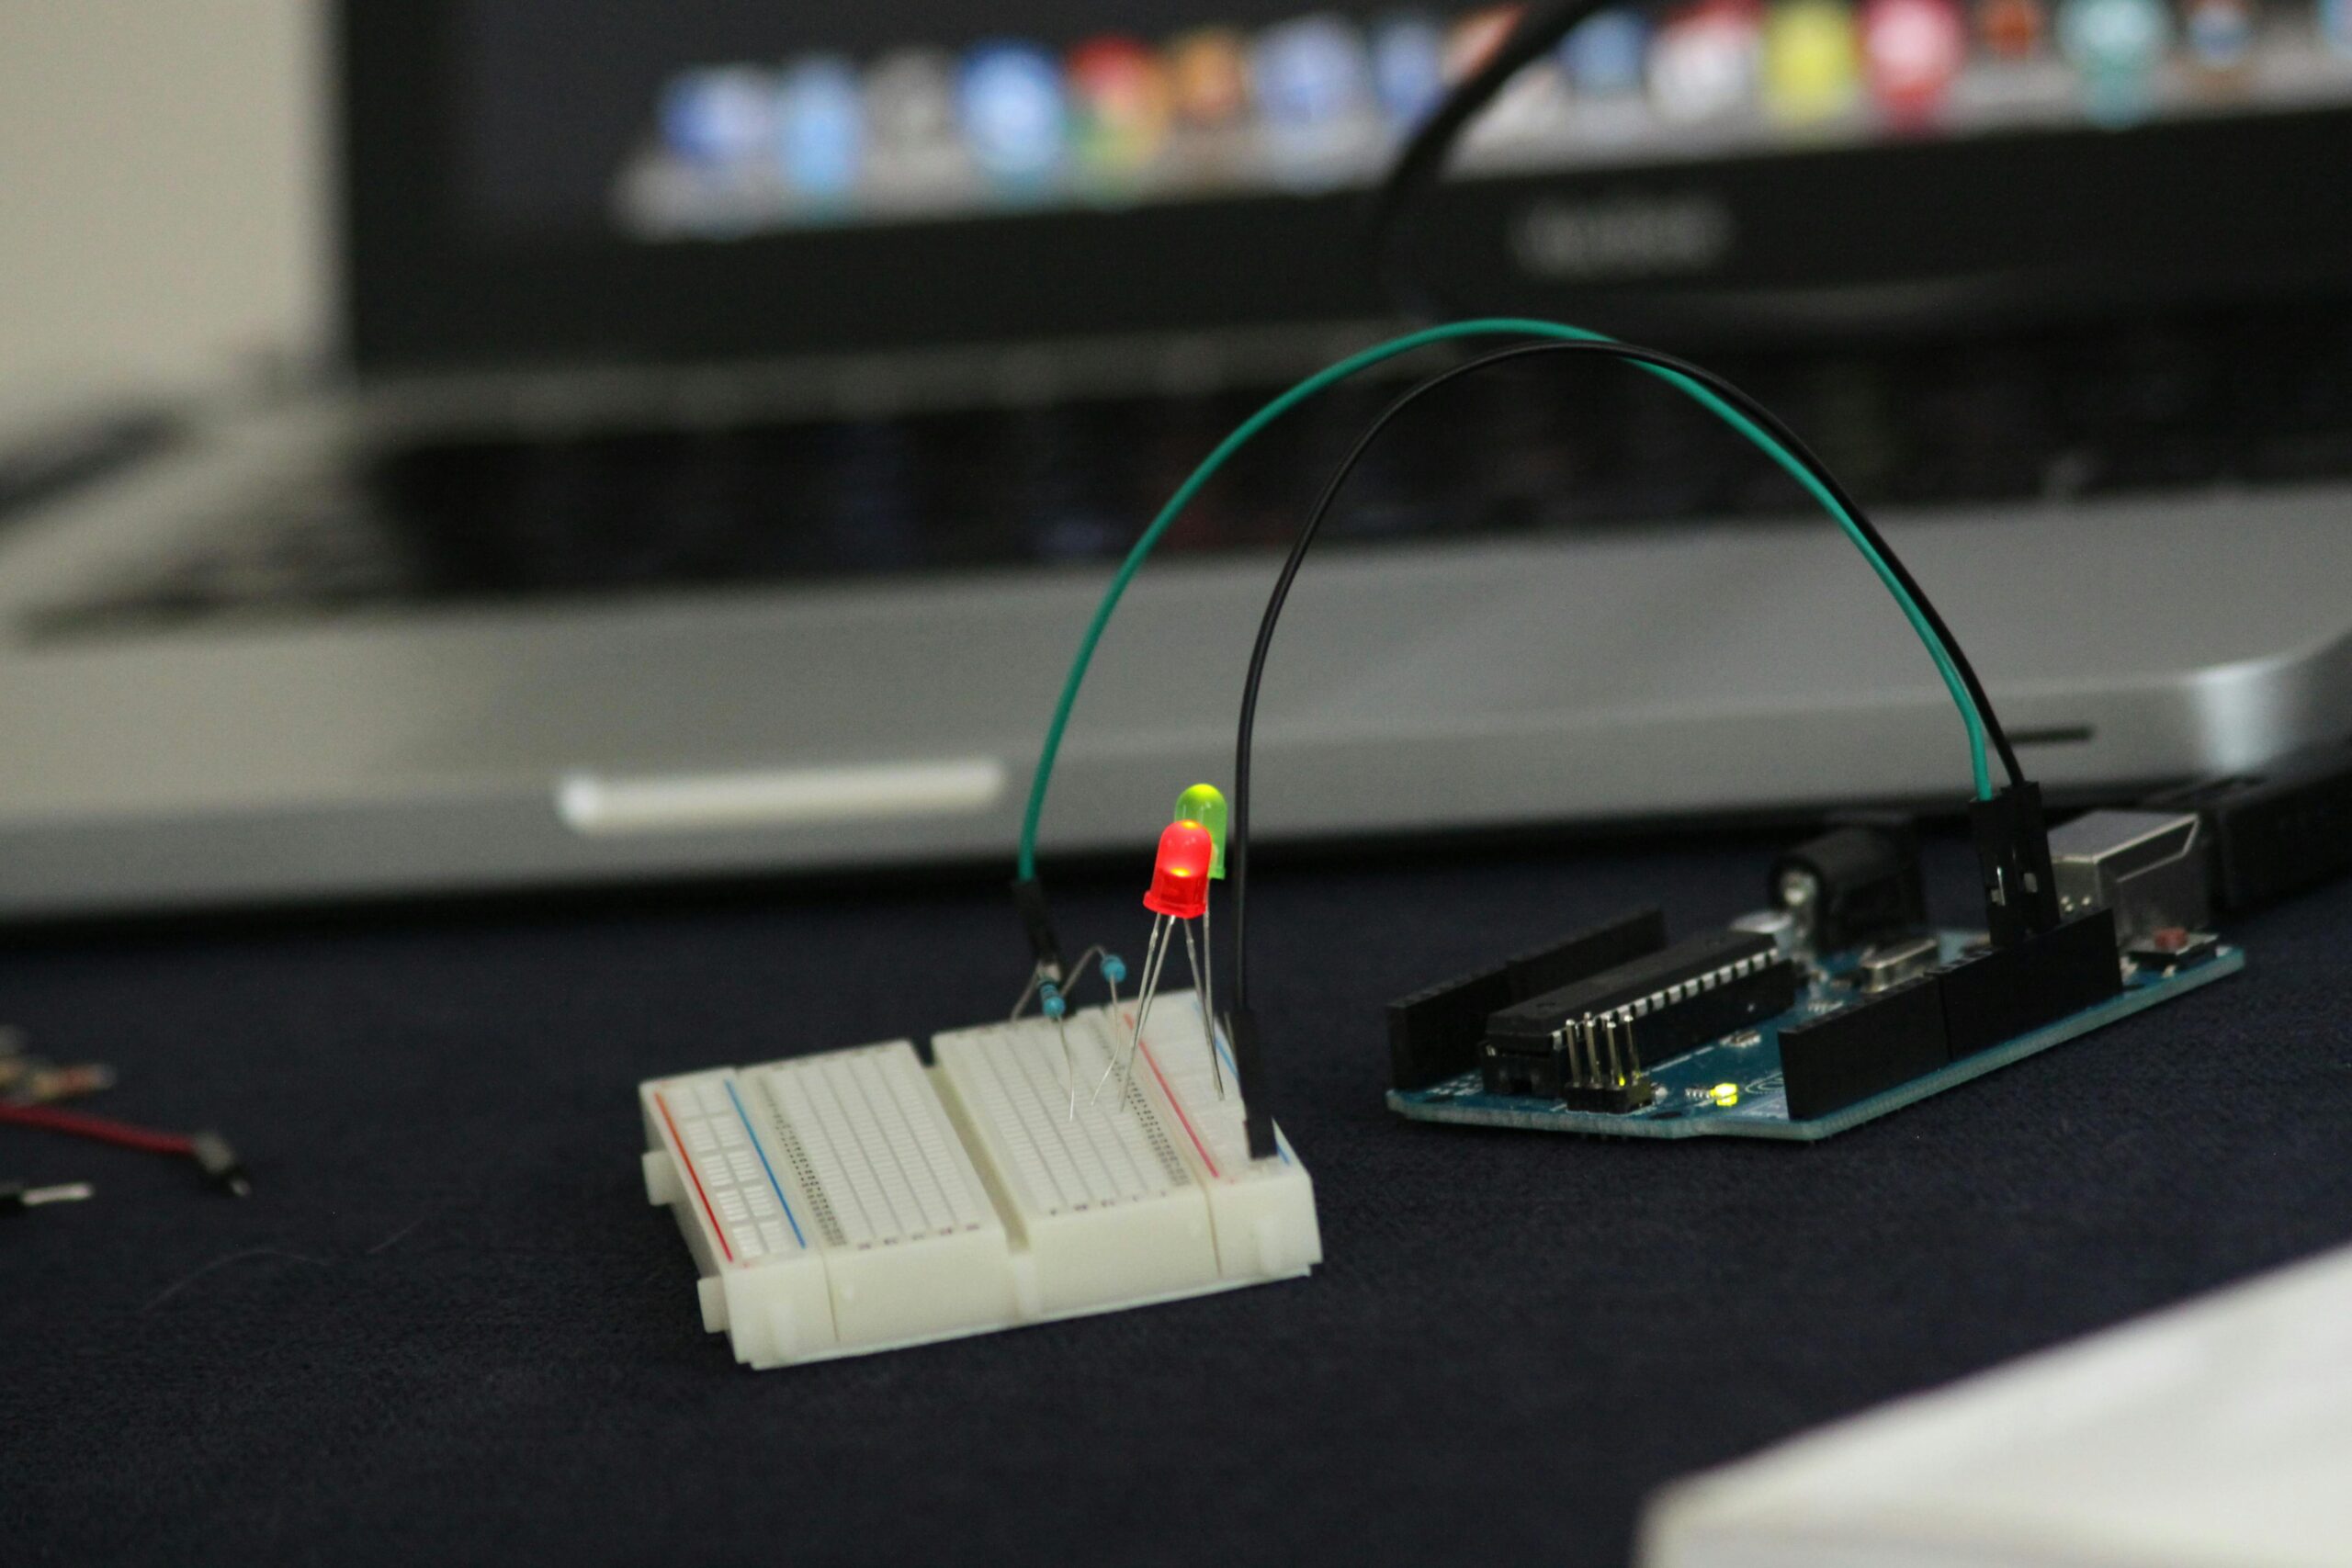
At the heart of every LED circuit project are the LEDs themselves. These come in various colors, sizes, and brightness levels. Standard 5mm LEDs are perfect for beginners, available in red, green, blue, yellow, and white. Each LED has two legs—the longer one is the positive terminal (anode) and the shorter one is the negative terminal (cathode). This polarity matters because LEDs only allow current to flow in one direction.
Resistors are equally essential components that protect your LEDs from excessive current. Without proper resistance, too much current would flow through the LED, causing it to burn out immediately or significantly shorten its lifespan. For most basic LED projects with standard 5V power supplies, 220-ohm or 330-ohm resistors work perfectly. These small components have color-coded bands that indicate their resistance value.
Power sources for LED circuits can range from simple 9V batteries to AA battery packs or USB power supplies. For beginners, AA battery holders providing 3V to 4.5V are ideal because they’re safe, readily available, and provide appropriate voltage for LED circuits. As you advance, you might explore power supplies with adjustable voltage outputs for more flexibility.
Helpful Tools and Accessories
A solderless breadboard is perhaps the most valuable tool for beginners. These plastic boards with numerous holes allow you to quickly prototype circuits without permanent connections. You simply insert component leads into the holes, and internal metal strips create electrical connections. This makes experimenting and modifying circuits incredibly easy—no soldering required.
Jumper wires connect different points on your breadboard and between components. Pre-cut jumper wire sets come in various lengths and colors, making circuit organization much cleaner. Using consistent color coding—such as red for positive connections and black for negative—helps prevent mistakes and makes troubleshooting easier.
A multimeter, while not absolutely necessary for basic projects, becomes invaluable as you progress. This tool measures voltage, current, and resistance, helping you verify that your circuit is working correctly and diagnose problems when things don’t light up as expected. Basic digital multimeters are affordable and user-friendly, with clear displays and simple operation.
💡 Understanding LED Circuit Basics: Making Sense of the Science
Before building your first circuit, understanding a few fundamental concepts will make the process more intuitive and successful. Electronics might seem mysterious, but the principles governing LED circuits are surprisingly straightforward once you grasp the basics.
Ohm’s Law: The Foundation of Circuit Design
Ohm’s Law is the fundamental relationship in electronics, expressed as V = I × R (Voltage equals Current times Resistance). For LED circuits, this helps you calculate the correct resistor value. LEDs typically need around 2-3V to operate and draw approximately 20 milliamps of current. If you’re using a 5V power supply, you need to drop about 2-3V through a resistor, which means you need roughly a 150-220 ohm resistor based on Ohm’s Law calculations.
Don’t worry if the math seems intimidating at first. Many online calculators can determine the correct resistor value when you input your power supply voltage and LED specifications. As you gain experience, these calculations become second nature, but initially, it’s perfectly acceptable to use standard resistor values that work well for most situations.
Series vs. Parallel Circuits
Understanding how to connect multiple LEDs opens up creative possibilities. In a series circuit, LEDs connect end-to-end in a single path, with the positive leg of one LED connecting to the negative leg of the next. The current flowing through each LED is the same, but the voltage required adds up. If each LED needs 2V and you have three in series, you’ll need at least 6V total.
Parallel circuits connect all the positive legs together to the positive power supply and all negative legs to the negative supply. Each LED operates independently at the full supply voltage, but the total current drawn equals the sum of each LED’s current. Parallel circuits require more current but work well when you want multiple LEDs at equal brightness with lower voltage supplies.
🌟 Your First LED Circuit Project: Single LED Setup
Starting with a single LED circuit builds confidence and establishes good habits. This foundational project teaches proper component orientation, safe power connections, and basic troubleshooting skills that you’ll use in every future project.
Begin by identifying your LED’s polarity. Look for the longer leg—that’s your positive connection. Some LEDs also have a flat edge on the plastic housing on the negative side. Insert the LED’s positive leg into one row of your breadboard and the negative leg into a different row several holes away.
Take your resistor and insert one leg into the same row as the LED’s positive leg. The resistor’s other leg goes into an empty row. Resistors aren’t polarized, so orientation doesn’t matter. Now use a jumper wire to connect from the row containing the resistor’s free leg to the positive terminal of your battery holder. Another jumper wire connects the row with the LED’s negative leg to the battery’s negative terminal.
When you insert batteries into the holder, your LED should illuminate! If it doesn’t light up, don’t panic. Check that all connections are secure, verify the battery has charge, and confirm your LED’s polarity is correct. Try removing and reinserting the LED in the opposite direction—you may have accidentally reversed the polarity.
🎨 Creative LED Projects to Expand Your Skills
Once you’ve mastered the basic single-LED circuit, numerous exciting projects await. These intermediate projects introduce new concepts while remaining accessible to beginners who’ve gained some initial experience.
Blinking LED with a 555 Timer Circuit
Creating a blinking LED introduces you to integrated circuits, specifically the versatile 555 timer chip. This project produces a flashing LED whose blink rate you can adjust by changing resistor and capacitor values. The 555 timer is one of the most popular integrated circuits ever created, found in countless electronic devices.
This circuit requires a few additional components: a 555 timer IC, two resistors (typically 1kΩ and 470kΩ), an electrolytic capacitor (10µF works well), and your LED with its current-limiting resistor. The satisfaction of seeing your LED blink rhythmically without any manual switching is tremendously rewarding and opens doors to understanding timing circuits and oscillators.
RGB LED Color Mixer
RGB (Red, Green, Blue) LEDs contain three separate LED elements in one package, allowing you to create any color by mixing different intensities of these primary colors. This project introduces variable resistance through potentiometers, giving you hands-on control over color mixing principles used in displays, lighting, and photography.
You’ll need a common-cathode or common-anode RGB LED, three potentiometers (10kΩ), and three appropriate resistors. By turning the potentiometers, you control how much current flows through each color element, creating millions of possible color combinations. This tactile experience with color theory makes abstract concepts tangible and visually stunning.
LED Nightlight with Light Sensor
Building an automatic nightlight that turns on when darkness falls teaches you about sensors and automated responses. This project uses a photoresistor (light-dependent resistor) whose resistance changes based on ambient light levels, coupled with a transistor that acts as a switch to control the LED.
This circuit introduces analog sensing and amplification concepts. The photoresistor forms a voltage divider with a fixed resistor, and when light levels drop, the changing voltage triggers the transistor to allow current flow through the LED. Suddenly, your circuit responds intelligently to environmental conditions—a significant step toward more sophisticated electronics projects.
🛡️ Safety Considerations and Best Practices
While LED circuits are among the safest electronics projects, developing good safety habits now will serve you well as you tackle more advanced projects. Responsible practices prevent component damage, personal injury, and frustration from preventable mistakes.
Always work in a well-lit, organized space with your components clearly visible. Keep liquids away from your workspace to prevent short circuits and potential electric shock. Although the voltages in basic LED circuits are generally safe, developing a respect for electricity and careful working habits is essential.
Never connect power supplies directly to LEDs without current-limiting resistors. The temptation to test “just quickly” without proper resistance often results in instantly destroyed LEDs. Similarly, verify your circuit connections before applying power. A few seconds of double-checking prevents component damage and the disappointment of non-functioning projects.
When working with batteries, avoid creating short circuits—direct connections between positive and negative terminals without any resistance. Short circuits can cause batteries to overheat, leak, or even explode in extreme cases. If your circuit suddenly feels warm or you smell something unusual, immediately disconnect the power source and inspect your connections.
🚀 Advancing Beyond Basics: Where to Go Next
Completing several LED circuit projects naturally builds curiosity about electronics’ broader possibilities. The skills you’ve developed—understanding polarity, calculating resistance, reading circuit diagrams, and systematic troubleshooting—form the foundation for virtually any electronics endeavor.
Microcontrollers like Arduino boards represent the next logical step, allowing you to program complex LED patterns, animations, and responses to multiple sensors. Arduino projects bridge the gap between pure electronics and programming, opening up truly limitless creative possibilities. Your understanding of basic circuits makes the Arduino’s hardware side immediately familiar.
Exploring circuit simulation software provides another valuable learning dimension. Programs like Tinkercad Circuits or Fritzing let you design and test circuits virtually before building physical versions. This approach saves components, helps visualize complex circuits, and builds confidence before investing in hardware for ambitious projects.
Consider documenting your projects through photos, videos, or blog posts. Sharing your learning journey helps others while reinforcing your own understanding. The maker community is welcoming and supportive, with countless online forums, social media groups, and local makerspaces where beginners and experts exchange ideas and assistance.
💰 Budget-Friendly Shopping and Resource Management
Starting with LED circuit projects doesn’t require expensive equipment or hard-to-find components. Smart shopping strategies help you build a comprehensive component collection without overspending, ensuring you have materials for many future projects.
Electronics starter kits specifically designed for beginners offer excellent value, bundling essential components at lower prices than purchasing items individually. These kits typically include assorted LEDs, resistors, breadboard, jumper wires, and sometimes additional components like switches, buttons, and basic integrated circuits. Reading reviews helps identify quality kits with good component selection and helpful instructions.
Online marketplaces and electronics specialty stores both have advantages. Specialty electronics suppliers often provide better component quality and technical specifications, while general online marketplaces might offer lower prices. Buying components in bulk—such as resistor assortments or LED packs—dramatically reduces per-unit costs when you’re ready to expand your inventory.
Don’t overlook local resources like electronics recycling centers, garage sales, or educational surplus stores. Old electronics contain many reusable components that can be salvaged with basic desoldering skills. This approach is environmentally friendly, educational (you learn how commercial products are constructed), and economical.
🔍 Troubleshooting Common LED Circuit Problems
Every electronics enthusiast encounters circuits that don’t work as expected. Developing systematic troubleshooting skills transforms frustrating failures into valuable learning opportunities, making you a more capable and confident builder.
If your LED doesn’t light up, start with the simplest explanations. Check that your power source has charge—batteries die, and power supplies can be accidentally unplugged. Verify all physical connections are secure; breadboard connections sometimes require firm pressure to establish good contact. Examine your LED’s polarity; reversing it is the most common beginner mistake.
If your LED lights up but appears dim, you might be using a resistor with too much resistance, limiting current flow below optimal levels. Alternatively, your power supply might be providing insufficient voltage. Try measuring the voltage across your LED with a multimeter to verify it’s receiving appropriate power.
When your LED burns out immediately upon powering up, you’ve likely omitted the current-limiting resistor or used one with insufficient resistance. Unfortunately, the LED is probably destroyed, but this expensive lesson teaches the critical importance of proper current limiting. Always calculate and include appropriate resistance before applying power.
🎯 Turning Hobby Skills into Practical Applications
The skills acquired through LED circuit projects extend far beyond hobby electronics. Understanding basic circuits and components forms the foundation for numerous practical applications in everyday life, potential career paths, and valuable problem-solving abilities.
Home improvement projects become more accessible when you understand electrical basics. Installing LED accent lighting, customizing automotive lighting, or creating smart home sensors draws directly on circuit knowledge. You’ll approach these projects with confidence rather than intimidation, potentially saving significant money on professional services.
Educational opportunities abound for those with electronics knowledge. STEM education increasingly emphasizes hands-on maker skills, and individuals who can teach electronics concepts through engaging projects are valuable in schools, makerspaces, libraries, and community programs. Your journey from beginner to competent practitioner positions you to inspire others.
Career applications span industries from entertainment technology and automotive systems to medical devices and renewable energy. While LED circuits represent just the beginning, they establish fundamental knowledge that advanced electronics education and professional work builds upon. Many successful engineers and technicians trace their career origins to simple LED projects that sparked lasting fascination.
🌈 Illuminating Your Path Forward in Electronics
LED circuit projects offer an inviting gateway into electronics—safe, affordable, visually rewarding, and endlessly expandable. Each successful circuit you build strengthens your understanding of fundamental principles while developing practical skills applicable to countless future projects. The combination of theoretical knowledge and hands-on experience creates deep, lasting learning that textbooks alone cannot provide.
The beauty of beginning with LED circuits lies in their forgiving nature and immediate feedback. When connections are correct, you see results instantly through glowing light. When problems occur, systematic troubleshooting teaches patience, logical thinking, and persistence—qualities valuable far beyond electronics. Every challenge overcome builds confidence and competence that transfers to increasingly sophisticated projects.
Remember that every expert was once a beginner who felt uncertain about connecting their first circuit. Your willingness to experiment, learn from mistakes, and persistently solve problems matters far more than innate talent or technical background. The electronics community welcomes newcomers enthusiastically, and countless resources—from online tutorials to local maker groups—stand ready to support your learning journey.
Start simple, build gradually, and celebrate each success along the way. That first LED you successfully illuminate represents more than a working circuit—it marks the beginning of understanding how electronic devices function and your capability to create technology rather than merely consuming it. Your world becomes literally and figuratively brighter as you develop skills that empower creativity, solve practical problems, and open doors to exciting possibilities.