Building your own robot doesn’t require a degree in engineering or expensive equipment. With creativity, basic materials, and this comprehensive guide, you’ll discover how accessible robotics can be! 🤖
Why Building DIY Robots Changes Everything
The world of robotics has evolved dramatically over the past decade. What once required specialized labs and thousands of dollars in equipment can now be accomplished on your kitchen table with materials you probably already have at home. Creating simple bots using everyday objects isn’t just a fun weekend project—it’s an educational journey that teaches fundamental concepts in mechanics, electronics, and programming.
DIY robotics empowers people of all ages to understand technology from the inside out. When you build something with your own hands, you develop problem-solving skills that no textbook can provide. You learn to troubleshoot, iterate, and innovate. Most importantly, you realize that the barrier between consumer and creator is much thinner than you imagined.
Whether you’re a parent looking for educational activities, a student exploring STEM fields, or simply someone curious about how things work, building simple robots offers immediate satisfaction and long-term learning opportunities. The best part? You don’t need to break the bank to get started.
Essential Materials Hiding in Your Home
Before rushing to the electronics store, take inventory of what’s already available around your house. You’d be surprised how many robot-building materials are disguised as everyday items. Old toys, kitchen utensils, and even trash can become the foundation of your first bot.
The Building Block Basics 🔧
Cardboard boxes, plastic bottles, and tin cans make excellent robot bodies. They’re lightweight, easy to cut and shape, and completely free. Empty cereal boxes provide flat surfaces perfect for mounting components, while plastic bottles offer cylindrical structures ideal for wheeled robots.
Bottle caps become wheels, popsicle sticks transform into structural supports, and rubber bands serve as treads or power transmission systems. Straws can function as axles or guide tracks for moving parts. Paper clips, when straightened, become wire connectors or simple mechanical linkages.
For more durable constructions, consider repurposing old CD cases, which provide rigid transparent or opaque surfaces. Broken toys are treasure troves—salvage motors, gears, wheels, and sensors before throwing anything away. That remote-control car gathering dust in the garage contains components worth their weight in gold for robot builders.
Electronic Components Without the Electronics Store
Small DC motors can be harvested from old DVD players, electric toothbrushes, or vibrating phone accessories. These motors are perfectly sized for lightweight robots and require minimal power. Battery holders might come from broken flashlights or old remote controls.
LEDs from expired holiday lights or broken electronics add visual feedback to your creations. Switches can be salvaged from broken appliances or improvised using aluminum foil and cardboard. Even old computer fans contain useful motors and can be disassembled for parts.
Wires are everywhere—old phone chargers, broken headphones, and outdated cables all contain copper wire suitable for making connections. Just strip away the insulation, and you have everything needed to wire your robot’s electrical system.
Your First Robot: The Vibrating Bristlebot
Let’s start with the simplest possible robot—a bristlebot. This tiny creature moves using vibration and requires just three components: a toothbrush head, a small vibrating motor, and a battery. It’s the perfect introduction to robotics because it demonstrates basic principles without overwhelming complexity.
Step-by-Step Construction Process
Begin by cutting the brush head from an old toothbrush, leaving about an inch of handle attached. This creates your robot’s body. The bristles angled backward will provide directional movement when vibration occurs.
Next, secure a small vibrating motor to the top of the toothbrush head. These motors (often called pager motors or coin vibration motors) can be extracted from old cell phones or purchased inexpensively online. Use double-sided tape, hot glue, or even regular tape to attach it firmly.
Finally, connect a button cell battery (like those used in watches) to the motor’s terminals. You can tape it in place or solder wires if you’re comfortable with that technique. The moment the circuit is complete, your bristlebot springs to life, skittering across smooth surfaces in unpredictable patterns.
This simple bot teaches several important lessons: how motors create movement, how electrical circuits work, and how mechanical design affects behavior. Try experimenting with different bristle lengths, motor positions, or additional weight distribution to see how performance changes.
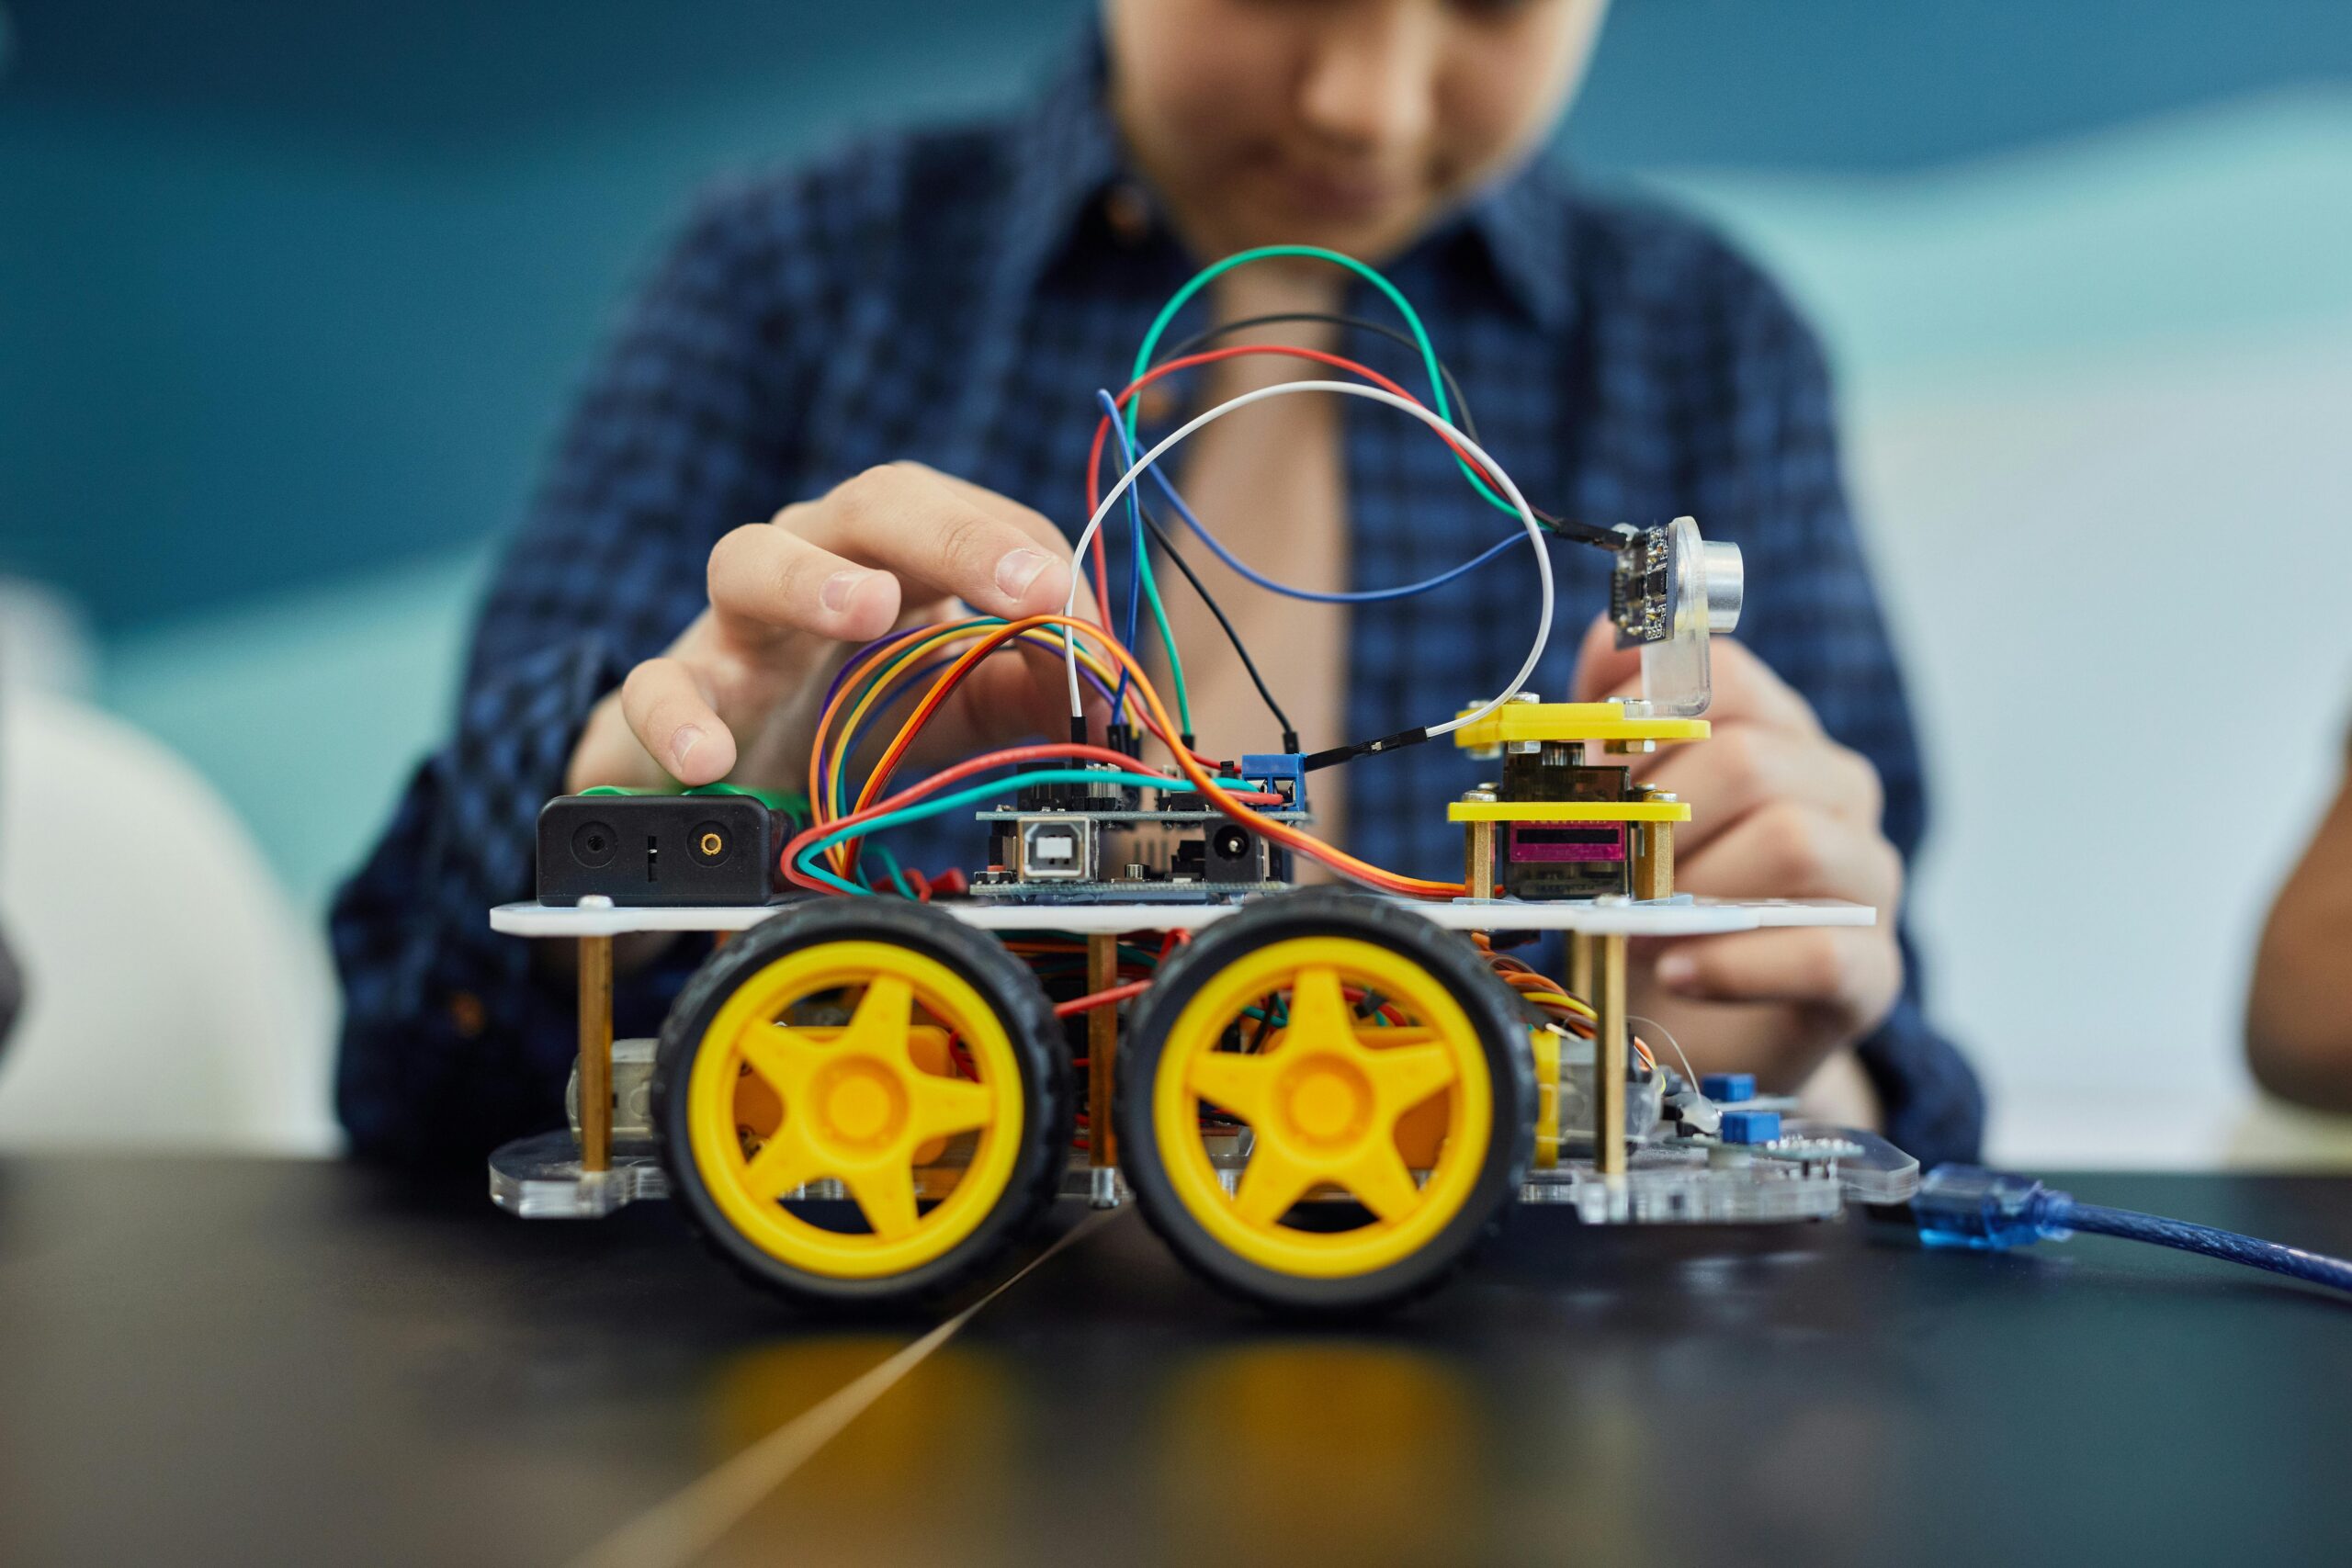
Building a Wheeled Robot from Household Items 🚗
Once you’ve mastered the bristlebot, it’s time to tackle a more sophisticated project—a simple wheeled robot. This bot will teach you about axles, drive systems, and directional control while still using primarily household materials.
Constructing the Chassis and Drive System
Start with a sturdy base. A small cardboard box, plastic container lid, or even a piece of thick cardboard works perfectly. This platform will hold your motors, batteries, and any additional components.
For wheels, bottle caps are ideal—they’re round, uniform, and readily available. Punch a small hole through the center of each cap. For axles, wooden skewers or straightened coat hangers work beautifully. The axle should spin freely, so don’t attach it too rigidly to the chassis.
Mount two small DC motors (salvaged from old toys) on opposite sides of your chassis. Attach wheels directly to the motor shafts using hot glue or tape. If the motor shaft is too narrow, build up diameter with layers of tape first. For rear support, add a caster wheel made from a marble, bead, or simply a rounded piece of cardboard that allows the back end to glide.
Wiring Your Motorized Creation
Connect both motors in parallel to a battery pack. For beginners, use AA or AAA batteries in a holder—they’re safer and easier to work with than complicated power systems. Strip about half an inch of insulation from wire ends and twist them together to create connections.
Add a simple switch between the battery and motors to control power. This can be a salvaged switch or one made from aluminum foil, cardboard, and a paper clip. When closed, the circuit completes and both motors spin, propelling your robot forward.
Test your creation on a smooth, flat surface. If it spins in circles instead of moving straight, one motor might be more powerful than the other, or the wheels might not be identical. These imperfections are learning opportunities—adjust wheel size, motor position, or weight distribution until you achieve desired performance.
Adding Intelligence: Simple Obstacle Detection 🧠
A robot that only moves in straight lines is impressive, but one that responds to its environment is truly remarkable. Let’s add basic obstacle detection using everyday materials—no Arduino or Raspberry Pi required for this version.
The Mechanical Bump Sensor Approach
Create a simple bump sensor using a wire loop and aluminum foil. Bend a paperclip into a large loop extending in front of your robot. Cover a section of your chassis with aluminum foil. When the wire loop touches an obstacle, it bends back and makes contact with the foil, completing a circuit.
This circuit can trigger a response—perhaps reversing motor direction or turning. For a basic implementation without electronics, attach the bump sensor to a mechanical lever system that physically interrupts power when triggered. While primitive, this demonstrates how robots sense and respond to their environment.
Light-Seeking Behavior Using Simple Components
For a more sophisticated sensor, consider creating a light-seeking robot using photoresistors (LDRs). While this requires purchasing a couple inexpensive components, the result is fascinating. LDRs change resistance based on light exposure, allowing your robot to “see” brightness.
Mount two LDRs on opposite sides of your robot’s front. Wire each to control its respective motor’s power. The side receiving more light gets more power, causing the robot to turn toward light sources. This creates autonomous behavior without complex programming—the robot naturally follows light.
Creative Robot Ideas Using Everyday Objects
Now that you understand basic principles, let’s explore specific robot projects using common household items. Each demonstrates different mechanical or electronic concepts while remaining accessible to beginners.
The Drawbot: Art-Making Automaton 🎨
Transform a simple wheeled robot into a drawing machine by attaching markers to its underside. Use rubber bands to hold pens at an angle where they just touch the paper. Place your robot on a large sheet of paper, activate it, and watch it create abstract artwork through its movements.
Experiment with different marker positions, colors, and movement patterns. Add unbalanced weight to create spiraling motions, or use the bump sensor approach to make it change direction when hitting paper edges. The drawings created reveal your robot’s mechanical personality.
The Solar-Powered Spinner
On sunny days, create a simple solar-powered robot using a small solar panel (harvested from solar garden lights), a motor, and creative decoration. Mount everything on a CD for a stable spinning platform. Add colorful paper decorations that blur into beautiful patterns when the motor spins in sunlight.
This project demonstrates renewable energy and requires zero batteries. Position it in a sunny window and watch it spring to life whenever sufficient light hits the solar panel. It’s mesmerizing and educational simultaneously.
The Climbing Caterpillar
Build a robot that inches forward like a caterpillar using a single motor and clever mechanical design. Cut a cardboard strip and fold it accordion-style. Attach a small motor with an off-center weight (creating vibration) to one end. The asymmetric vibrations cause the whole structure to creep forward gradually.
This demonstrates how simple oscillating motion can be converted into directional movement—the same principle earthworms and caterpillars use. Experiment with different folding patterns, weights, and vibration frequencies to optimize crawling speed.
Troubleshooting Common DIY Robot Problems 🔍
Every robot builder encounters challenges. Understanding common issues and their solutions accelerates your learning and prevents frustration from derailing exciting projects.
Movement and Mechanical Issues
If your robot moves in circles instead of straight lines, check wheel size first. Even small diameter differences create turning. Ensure both wheels are identical or compensate by adjusting motor power. Friction also matters—make sure axles spin freely and aren’t binding.
Robots that tip over need better weight distribution. Lower the center of gravity by moving batteries and heavy components closer to the base. Wider wheel spacing also improves stability, though it may reduce maneuverability.
For robots that don’t move at all despite motors running, check whether wheels are actually gripping the surface. Smooth plastic caps might slip on certain surfaces. Add rubber bands around wheels for improved traction, or try textured materials like hot glue dots for grip.
Electrical and Power Challenges
If nothing happens when you flip the switch, systematically check connections. Loose wires are the most common culprit in DIY robotics. Ensure bare wire sections are making solid contact and consider twisting connections more tightly or using tape to secure them.
Weak or slow performance often indicates insufficient power. Check battery charge first, then consider whether your power source provides adequate voltage for your motors. Multiple small motors in parallel drain batteries quickly—use fresh batteries or upgrade to a larger capacity power source.
Motors running backward? Simply reverse the wire connections. DC motors’ direction depends on polarity—switching which wire connects to positive versus negative reverses spin direction.
Taking Your Robots to the Next Level
Once comfortable with basic bots, you’ll naturally want to increase complexity and capability. The transition from simple mechanical robots to more sophisticated creations can happen gradually, building on skills you’ve already developed.
Introducing Microcontrollers Without Intimidation
Eventually, you might explore programmable microcontrollers like Arduino or micro:bit. These tiny computers let you create complex behaviors, respond to multiple sensors, and implement decision-making logic. However, they’re optional—many fascinating robots function perfectly well using purely mechanical or simple electrical principles.
When you do decide to explore programming, start small. Blink an LED first, then make a motor start and stop, then combine sensors with motor control. The physical robot-building skills you’ve developed provide the perfect foundation for adding digital intelligence later.
Joining the Maker Community
Robot building becomes even more rewarding when shared with others. Online communities offer inspiration, troubleshooting help, and friendship with fellow makers. Document your projects with photos and share them—you’ll be amazed how supportive and encouraging the robotics community can be.
Local makerspaces and robotics clubs provide hands-on access to tools, materials, and experienced mentors. Many libraries now host maker events where you can learn new techniques and collaborate on projects. These connections transform solitary tinkering into a rich social learning experience.
The Educational Power of Robot Building 📚
Beyond the fun of creation, DIY robotics delivers profound educational benefits. Building bots teaches STEM concepts through direct experience rather than abstract theory. Physics principles like friction, leverage, and momentum become tangible when you’re debugging why your robot won’t climb a ramp.
Mathematics emerges naturally—calculating gear ratios, measuring dimensions, or estimating battery life requirements. Electronics concepts like circuits, voltage, and current flow make sense when you’re actually wiring components together. Even basic engineering design thinking develops as you sketch ideas, build prototypes, test performance, and iterate improvements.
For younger builders, these projects develop fine motor skills, spatial reasoning, and patience. Following multi-step procedures builds executive function skills. Troubleshooting teaches persistence and systematic problem-solving. The confidence gained from creating something functional with your own hands is immeasurable.
Safety Considerations for DIY Robot Building ⚠️
While building simple robots is generally safe, some basic precautions ensure everyone stays injury-free. Always supervise children when using sharp tools like scissors, craft knives, or wire cutters. Hot glue guns reach high temperatures—use low-temperature versions when possible and always apply glue carefully.
When salvaging components from old electronics, first ensure devices are unplugged and any capacitors are discharged. Some components store electrical charge even after power removal. Avoid dismantling anything with large capacitors or high-voltage components unless you have proper training.
Use appropriate batteries for your projects. Button cell batteries can be dangerous if swallowed, so secure them properly and keep them away from very young children. When soldering, work in ventilated areas and never touch the hot iron tip. Safety glasses protect eyes from flying debris when cutting or drilling materials.
Where Your Robot Journey Leads Next 🚀
The simple bots you build today form the foundation for increasingly ambitious projects tomorrow. Many professional roboticists, engineers, and inventors began exactly where you are now—playing with motors and cardboard on their kitchen tables.
As skills develop, you might explore specific robotics niches: competition robots for events like BattleBots or FIRST Robotics, art robots that create performances or installations, assistive robots that help people with disabilities, or even research robots that explore new frontiers in automation and artificial intelligence.
The most important lesson isn’t about any specific robot design—it’s that you can build, create, and innovate. Technology isn’t mysterious or inaccessible. With curiosity, resourcefulness, and willingness to experiment, you can bring ideas to life. Every robot you build, no matter how simple, proves you’re a maker, an engineer, a creator.
Start today with whatever materials you have available. That first wobbly bot might not be sophisticated, but it represents something profound: your first step into a world where imagination becomes reality, where problems become puzzles, and where you transform from passive technology consumer to active technology creator. The future of robotics isn’t just in research labs—it’s being built right now in homes, garages, and classrooms by people just like you who dared to ask, “What if I tried to build this myself?” 🤖✨